Two Easy Recipes for your Home-Made Sensory Bottles with Oil and Baby Oil
When I prepare arts & crafts projects with my 8-year-old daughter, I always try to ensure they are really easy to make. And these sensory bottles with baby oil are no exception.
Why?
You may think I want to ensure my daughter can easily make the project on her own.
Wrong.
I just want to make sure that “I” can make the project on my own. I am so bad at arts & crafts! So, all my projects tend to be “Easy Projects for Clumsy Moms”!
These fun projects work on two levels:
- as a science project where kids can learn about the interaction of water and oil
- as a DIY sensory bottle project, a very useful calm-down tool for toddlers or kids with anxiety. You can read more about how helpful these jars are in my other DIY sensory bottles post.
So, let’s go with today’s DIY Sensory Bottles with Baby Oil!
(Disclosure: We are a participant in the Amazon Services LLC Associates Program, an affiliate advertising program designed to provide a means for us to earn fees by linking to Amazon.com and affiliated sites. You can also read our Disclosure & Disclaimer policy here)
Table of Contents
- Water & Oil Experiment: Science Project Learning
- Sensory Bottle with OIL (Vegetable Oils)
- Sensory Bottle with BABY OIL
- Calming Jars for “Too Busy” Moms ? (check these ones if you are too busy for arts & crafts)
- Other Sensory Activities for Kids
Water & Oil Experiment: Science Project Learning
These are some of the pointers you can discuss with your kids or students while working on these projects:
1. Water and oil don’t mix.
No matter how much you shake your bottle, oil and water will go back to creating two different layers.
They don’t mix because water molecules and oil molecules are different and don’t attract each other.
2. Oil always floats on top.
Oil is less dense than water, so even if you pour it first, it will still flow into the surface layer.
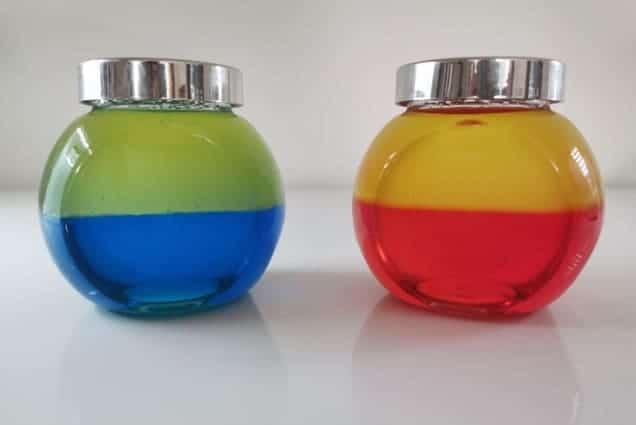
3. Primary and Secondary Colors
What are the primary colors?
Primary colors are the ones that can’t be created by combining other colors. The primary colors are: blue, yellow and red.
What are the secondary colors?
Secondary colors are those we create by combining primary colors:
Blue + Yellow = Green
Red + Yellow = Orange
Blue + Red = Purple
Calming Jars with Oil and Water
This first sensory bottle with oil recipe is extremely easy to make and quite mess-free.
Why do I consider it mess-free?
Instead of trying to dye clear baby oil with food coloring I’ve used a mix of canola and olive oil.
Oil-based food colorings are quite concentrated, and once you start opening little containers with the kids around it can easily get messy. So for this recipe, you only need the traditional water-based food coloring that you probably already have at home.
This recipe will come handy also if you can’t source oil-based food coloring or you have run out of it.

Ingredient for a Sensory Bottle with Vegetable Oil:
- Plastic bottles or jars
- Tap water
- Liquid food coloring (red & blue)
- Vegetable oil (I’ve mixed olive oil & canola oil)
- Glue (optional but recommended if you have small kids and you need to seal the jar after you have finished the project)
How to Prepare a Calming Jar with Oil
- Fill half of the jar (or bottle) with water
- Add a few drops of the food coloring of your choice (I just add one or two and it looks intense enough)
- Mix them together
- Add your oil mix
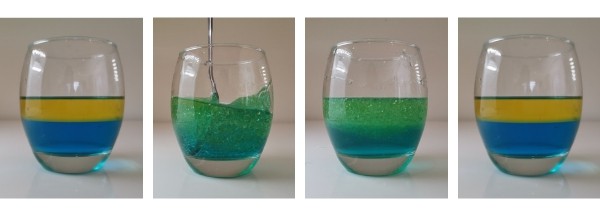
In my project, I’ve mixed canola and olive oil. I started with canola oil but the color was too pale. I added olive oil to make the yellow color more intense. This could be a good moment to introduce the topics I’ve mentioned in the previous section:- ask your kid what will happen when you mix the two liquids:
- will they mix?
- if not, which one will be on top?
- will color change? And if so, what color will you get?
- will color stay blended or will it return to its original color?
- ask your kid what will happen when you mix the two liquids:
- Give them a good shake and see what happens.
- Let them separate again, and see how these two liquids don’t mix at all.
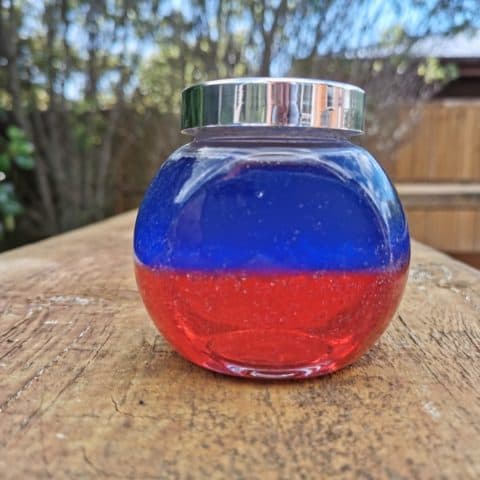
How to Make Sensory Bottles with Baby Oil and Water
The advantage of using baby oil to prepare our calming jar is that we have a wider range of colors we can play with. In the previous experiment, we were limited by the yellow oil.
So, this time, we just need to add on more step: dyeing the baby oil.

Ingredient for a Sensory Bottle with Baby Oil:
- Plastic bottles or jars
- Water
- Water-based food coloring (red )
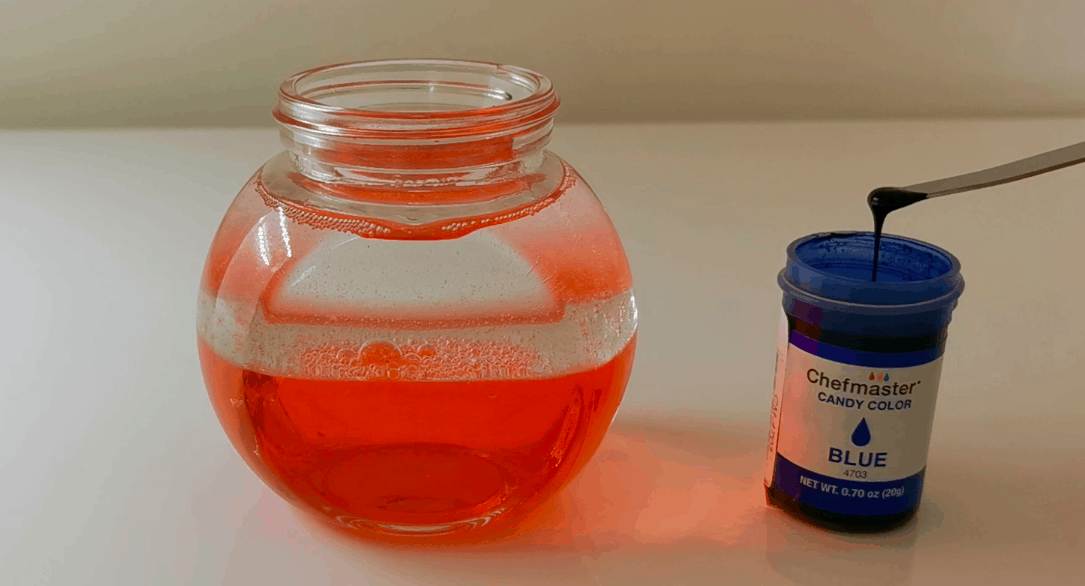
- Oil-based food coloring (blue)
- Baby Oil
- Glue (optional but recommended if you have small kids and you need to seal the jar after you have finished the project)
How to prepare a “DIY Sensory Bottle with Baby Oil”
- Fill half of the jar with water
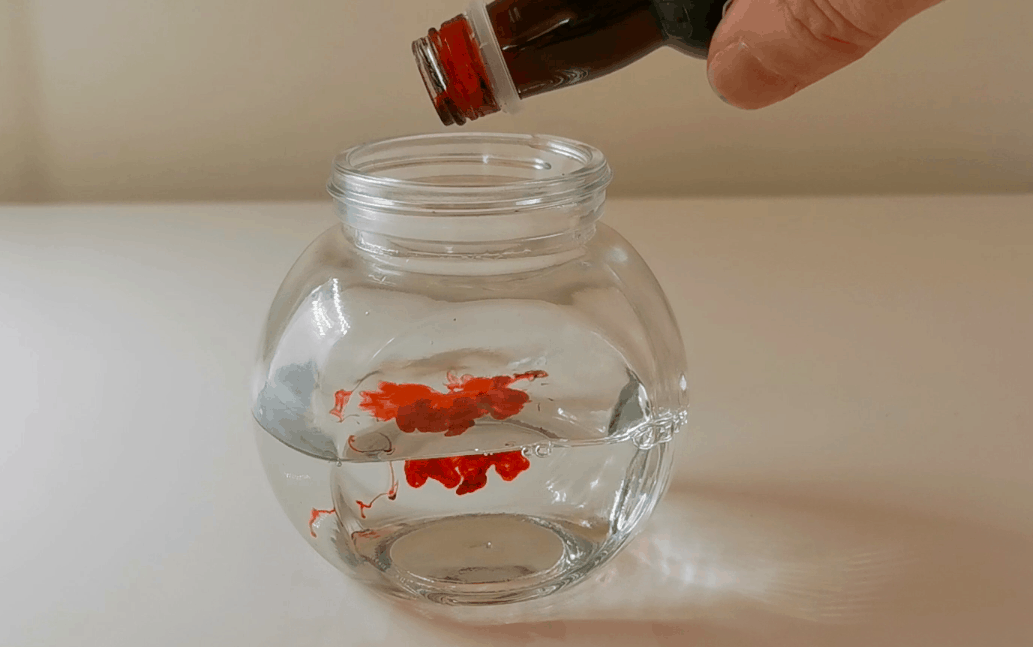
- Add a couple of drops of the red food coloring
- Mix them together
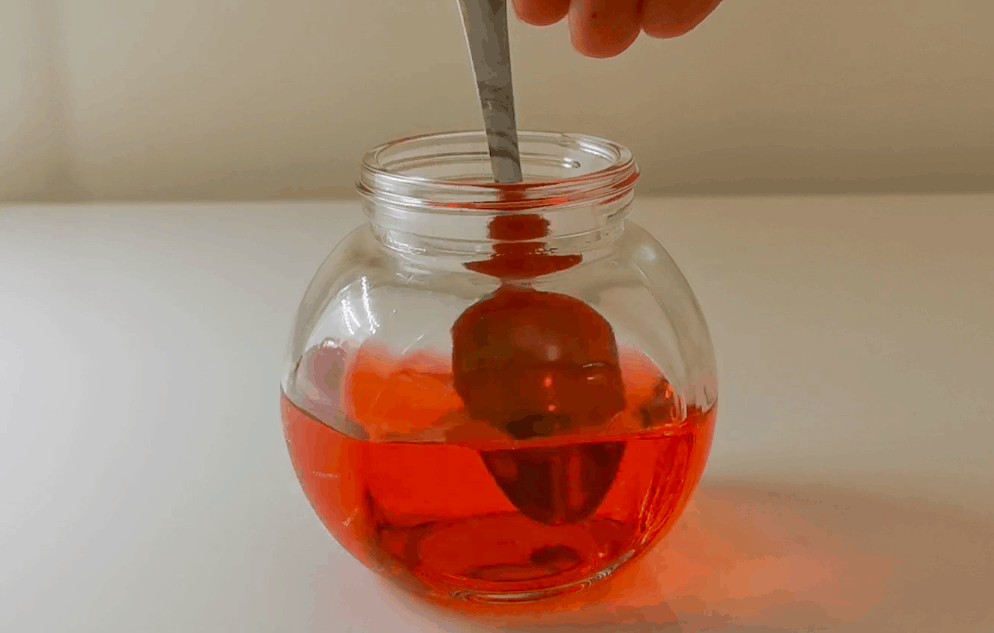
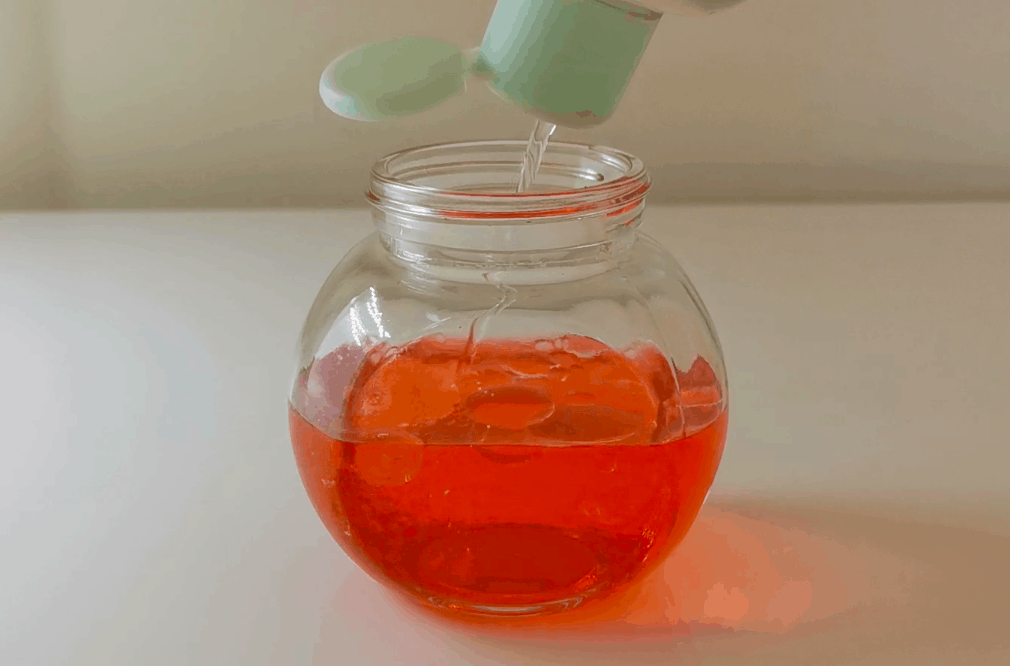
- Pour baby oil inside the jar containing colored water
- Add your oil-based food coloring into baby oil. Tip: you only need a small quantity.
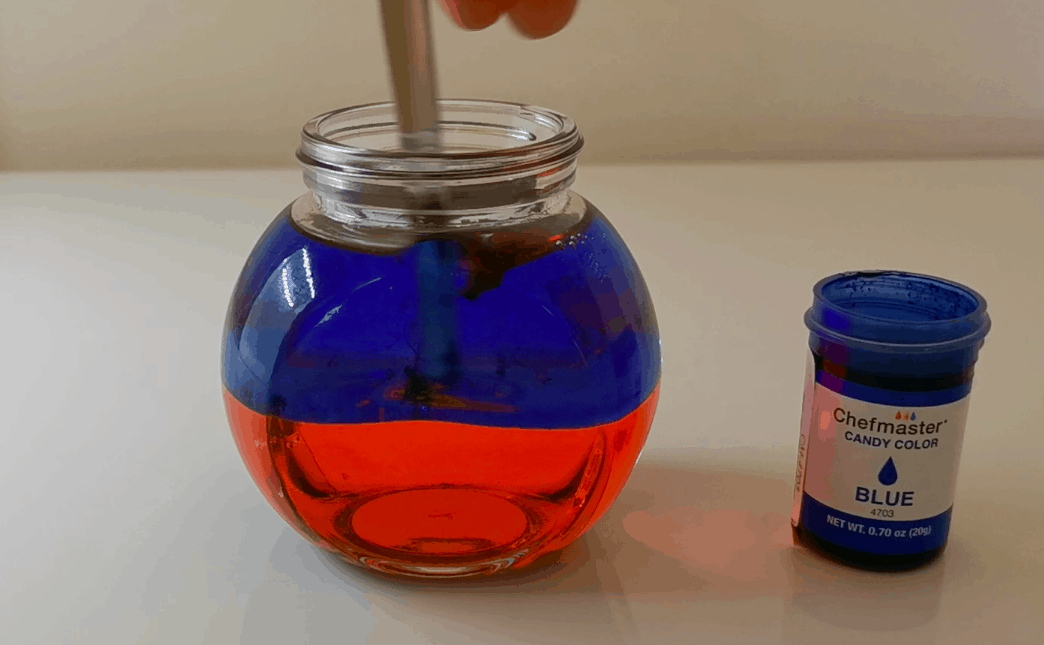
- Stir the baby oil till the food coloring has blended with the oil
- See the colors changing, and separating again into their initial colors!
Troubleshooting: Why is the baby oil not mixing with the food coloring?
Mixing the food coloring with the baby oil is the part that most people struggle with. If that’s your case, chances are that you are not using oil-based food coloring.
If you are planning to dye oil, what really matters is to ensure that you buy oil-based dyes. Don’t mistake them with gel paste food coloring as the texture may be similar.
I’ve tested oil-based powders, but I had problems completely diluting them in the oil. The particles that do not dilute with the oil will blend with the water part and change the color that we have chosen for the water component.
Sensory Bottles with Baby Oil
Super Easy Sensory Bottle with Baby Oil. An amazing calming tool and a fun arts & crafts family activity.
Materials
- Plastic Bottle (recycle used bottles)
- Tap Water
- Baby Oil
- Liquid Food Coloring
- Candy Food Coloring
- Glue (optional)
Tools
- Spoon
Instructions
- Fill half of the jar with water

- Add a couple of drops of liquid food coloring
- Mix them together
- Pour the baby oil inside the jar containing the colored water
- Add candy color to baby oil
- Mix the baby oil with the food coloring
- Close the jar & shake it! Colors with blend and then separate into their original colors

Notes
Trouble shooting: Mixing the food coloring with the baby oil is the part that most people struggle with. Make sure you are oil-based food coloring (candy color!).
Calming Jars for “Too Busy” Moms
So, if you feel this is an absolute hassle but you still wish to try this soothing method with your little ones (or yourself), I have some good news,
You don’t need to bother!
Other Sensory Activities for Kids
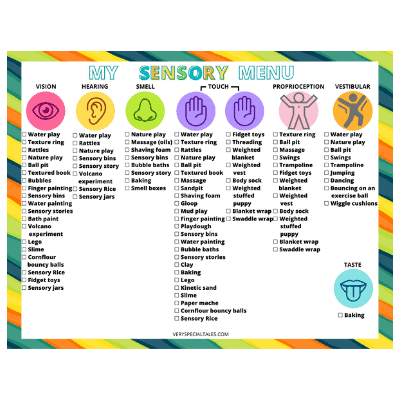
Would You Like to Read Many More Sensory Activities for Kids of All Ages? Check out the following article! (It also includes a FREE sensory menu):
- 40+ Sensory Play Ideas for Kids (+ Free Sensory Menu)

DIY Sensory Bottles with Baby Oil or Vegetable Oil


This is really fun! But can you pls tell me how to make the floating balls or spheres?
Oh, to do that part I added in some orbeez. It’s SUPER fun to make the bottles, and then if you get an orbee growing set you’re sure to have a blast!